How to Rebuild and Upgrade Your Truck After an Accident
Getting into a severe wreck with your primary vehicle is a highly stressful, deeply disorienting experience. The screech of tires, the sudden impact, and the deployment of airbags can leave any driver feeling rattled. Seeing your prized vehicle sitting on the back of a flatbed wrecker, crumpled and leaking fluids, is undeniably heartbreaking. However, once the initial shock wears off, the physical injuries are treated, and the insurance dust finally begins to settle, a wrecked vehicle actually presents a remarkably unique blank canvas.
Rather than simply paying a deductible to restore your vehicle to its average, uninspired factory baseline, you have the opportunity to take the insurance payout and strategically reinvest it. This is your chance to make your rig significantly stronger, exponentially safer, and vastly more capable than it was the day it first rolled off the assembly line. The rebuilding process allows you to address the weak points of the original engineering and tailor the machine perfectly to your lifestyle. By systematically addressing the structural framing, upgrading the critical safety mechanics, securing the cabin environment, and investing in heavy-duty utility add-ons, you can transform a highly stressful event into the perfect opportunity to build your ultimate dream vehicle.
Assess the Structural Frame and Exterior Damage

The foundational integrity of any vehicle lies in its chassis. When a heavy vehicle is involved in a severe crash, the visible damage to the fenders, hood, and grille is often just the tip of the iceberg. The underlying frame geometry dictates everything from how the doors latch to how the tires make contact with the pavement. The sheer kinetic force of a heavy collision compromises the unseen skeleton of the vehicle, making a professional frame inspection the absolute, non-negotiable first step of any comprehensive rebuild. If the frame is bent, twisted, or diamond-shaped, bolting on new parts will be an exercise in futility.
To ensure the structural integrity of your vehicle is properly restored before you begin any cosmetic or performance upgrades, you must partner with certified auto body shops that possess the specialized hydraulic pulling machines necessary to stretch the heavy-duty chassis back to its exact factory specifications. These facilities utilize laser-guided measuring systems to pull the high-strength steel back into alignment down to the millimeter.
During this initial teardown and structural assessment phase, keep the following actionable strategies in mind:
-
Demand a computerized frame measurement: Do not rely on a visual inspection. Even a relatively minor fender bender can tweak a heavy-duty chassis by a few millimeters, which will permanently destroy your vehicle’s handling, cause high-speed vibrations, and result in rapid, uneven tire wear if left unaddressed.
-
Check all crumple zones and weld points: The factory crumple zones are designed to accordion upon impact to absorb energy. Inspect these areas for microscopic stress fractures in the metal. Treat any bare or exposed steel immediately with a rust inhibitor to prevent creeping oxidation.
-
Upgrade factory plastics to heavy-duty steel: Use this mandatory tear-down phase to permanently discard the flimsy, cracked factory plastic bumper covers. Upgrading to heavy-duty steel bumpers will offer vastly superior front and rear protection against future impacts.
Restore All Windows, Mirrors, and Cabin Entry Points
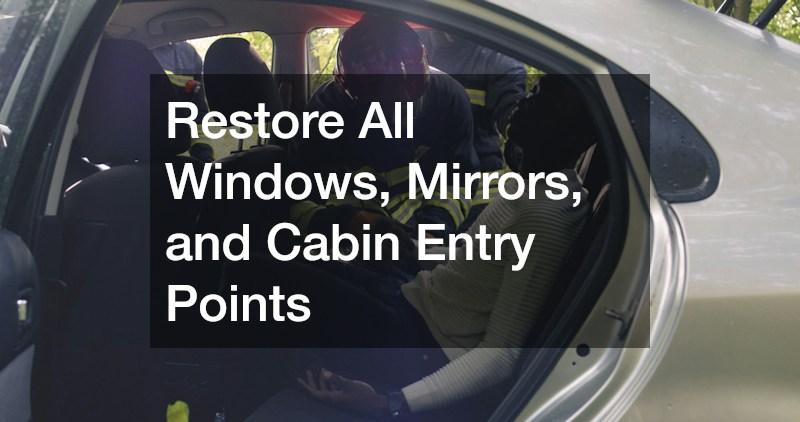
Once the skeleton of the vehicle is straight and the exterior sheet metal is aligned, the next critical phase is securing the cabin. The glass on a modern vehicle is not just there to keep the wind and rain out of your face; it is a vital structural component of the entire passenger compartment. Modern windshields provide up to forty percent of the roof’s crush resistance in the event of a rollover. Therefore, hiring specialized auto glass replacement services to safely remove broken shards, install OEM-quality glass, and correctly recalibrate the forward-facing cameras and lane-departure sensors mounted behind the rearview mirror is paramount to your safety.
Furthermore, a heavy impact often damages the internal components of the cabin’s entry and ignition systems. If the steering column was smashed during the crash, or if the sensitive electronics were shorted out when the airbags deployed, getting a professional car key replacement and reprogramming the new transponder fob is critical to ensuring the vehicle’s anti-theft immobilizer functions properly. Without properly synced electronics, the engine control unit will refuse to send fuel to the injectors, leaving you stranded even if the mechanical engine is perfectly fine.
To properly secure your interior and guarantee the safety of your passengers, follow these strict cabin restoration protocols:
-
Do not reuse stressed glass: Even if a side window or rear glass panel didn’t completely shatter in the wreck, the structural tension from the impact often causes microscopic webbing. This invisible damage will eventually cause the pane to fail completely under extreme temperature changes.
-
Allow proper adhesive curing time: Ensure the windshield urethane adhesive is given adequate time to cure in a temperature-controlled environment before the vehicle is driven. Passenger airbags rely entirely on the windshield’s structural resistance to deploy correctly toward the occupant.
-
Recalibrate all internal computer systems: Have a technician plug into the OBD-II port to clear hard crash codes. Recalibrate the steering angle sensors, reset the airbag deployment modules, and ensure all internal security electronics are communicating seamlessly with the engine bay.
Inspect and Reinforce the Chassis and Steering Components
With the frame straight and the cabin secured, your attention must turn to the vehicle’s handling dynamics. The undercarriage absorbs a tremendous amount of lateral and vertical force during a crash. A heavy impact frequently blows out the hydraulic seals in your suspension system, causing the factory shocks to leak fluid and lose all dampening ability. Rather than viewing this as a setback, use it as the perfect excuse to upgrade to high-performance coilovers, heavy-duty control arms, and reinforced leaf springs that will completely transform how your rig handles both on and off the pavement.
Navigating this specialized undercarriage work requires a skilled mechanic. It is highly suggested that you build a working relationship with trusted local auto repairs to handle this complex mechanical tear-down. Neighborhood mechanics often provide significantly better communication, more flexible labor rates, and a greater willingness to install aftermarket upgrade parts than massive, rigid corporate dealerships that only want to bolt on standard factory replacements.
When evaluating your drivetrain and undercarriage for crash damage, focus on these specific upgrades and inspections:
-
Examine the control arms, tie rods, and CV joints: The sudden lateral force of a crash often bends these vital steering components. Even a slight bend in a tie rod will make the vehicle pull violently to one side and lead to dangerous, uncontrollable high-speed steering wheel vibrations.
-
Upgrade to a heavy-duty lift or leveling kit: Rather than replacing blown factory shocks with identically weak OEM equivalents, install a complete suspension upgrade. Doing this while the undercarriage is already disassembled saves you thousands of dollars in duplicate labor costs.
-
Check the driveshaft for balance issues: Inspect the main aluminum or steel driveshaft for dents or bends. A bent shaft will spin out of balance, eventually destroying the transmission output shaft seal and differential bearings due to extreme harmonic vibration.
Prioritize Stopping Power and Fluid Line Integrity
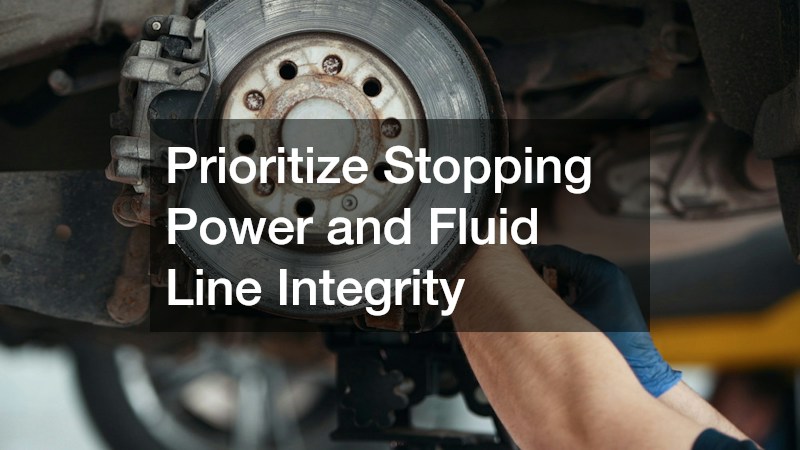
Adding heavy steel bumpers, larger tires, and reinforced undercarriage components drastically increases the overall rolling mass of your vehicle. While these upgrades make the rig tougher, they also make it much harder to stop. Your factory braking system was mathematically engineered for the vehicle’s original, lighter curb weight. Detail how investing in high-performance brake replacements—specifically upgrading to slotted rotors, larger multi-piston calipers, and heavy-duty ceramic friction pads—is a vital safety upgrade that directly compensates for the added weight of your new off-road gear.
In addition to stopping power, the engine’s lifeblood must be secured. The incredible G-forces involved in a crash can easily pinch hard fluid lines against the frame or crack plastic reservoirs. Advise your mechanics to utilize comprehensive auto repair services to meticulously pressure-test the cooling system and verify that the aluminum radiator, heater core, and water pump didn’t suffer microscopic hairline fractures during the front-end impact, which could lead to catastrophic engine overheating weeks down the line.
To guarantee mechanical reliability and safety on the highway, address the following fluid and stopping concerns:
-
Thoroughly inspect all hard lines underneath the chassis: Follow the entire length of the steel fuel lines and hydraulic brake lines from the engine bay to the rear axle. Impact force can crush these lines against the frame rail, restricting fuel pressure or leading to a total loss of hydraulic braking pressure.
-
Dramatically upgrade your stopping mechanics: If you are running heavier wheels and armor, install braided stainless-steel brake lines to prevent the hydraulic hoses from expanding under pressure, ensuring a firm, highly responsive pedal feel during panic stops.
-
Flush the power steering and transmission fluids: The sheer violence of a crash can knock loose metallic sludge that has settled in the bottom of the transmission pan or power steering pump. Flush these systems completely to ensure no abrasive metal shavings were introduced into the delicate closed hydraulic loops.
Add Protective Gear and Heavy-Duty Wheel Upgrades
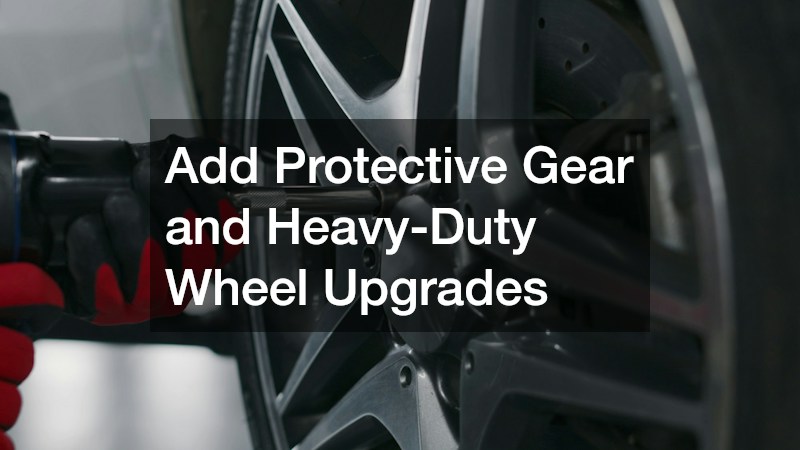
The final phase of the rebuild is arguably the most exciting. This is where utility meets aesthetics, and your vision for the ultimate custom rig finally comes to life. Now that the underlying mechanics are bulletproof, you can focus on outfitting the exterior for maximum capability. Investing in premium truck accessories—such as heavy-duty steel winch bumpers, tubular rock sliders, high-capacity roof racks, and rated forged recovery points—ensures your rig is deeply armored against both unpredictable off-road hazards and distracted, erratic drivers on the daily highway commute.
To tie the entire build together, you must address the vehicle’s stance and traction. Factory wheels are frequently cracked or bent during accidents, making them impossible to balance. Replacing bent, factory-standard wheels with a set of aggressive custom rims not only definitively fixes the alignment and balancing issues caused by the crash, but it serves as the ultimate visual centerpiece of your entire vehicle transformation, signaling that this is no longer just a standard commuter vehicle.
Finalize your custom build by incorporating these rugged aesthetic and utility upgrades:
-
Replace damaged bedsides with functional protection: If the rear cargo box was damaged, consider skipping the expensive paint-matching process. Instead, apply a thick, UV-resistant spray-in bed liner over the repaired metal and install a heavy-duty louvered headache rack to protect the rear passenger window from shifting cargo and lumber.
-
Dramatically upgrade the forward lighting systems: Swap out the cracked, dim, and yellowing factory halogen headlight housings for brilliant, high-lumen LED projectors. Adding auxiliary ditch lights and a bumper-mounted light bar will drastically improve your nighttime visibility and safety on dark rural roads.
-
Choose a wheel setup with appropriate backspacing: When selecting your new wheels, ensure you choose a specific backspacing and negative offset that pushes the tires slightly outside the fenders. This artificially widens the vehicle’s track width, providing much better lateral stability and significantly reducing the risk of future rollovers.
Seeing your prized vehicle sitting mangled on a wrecker is a heartbreaking experience that no driver wants to endure. The anxiety of dealing with insurance adjusters and the stress of being without transportation can easily become overwhelming. However, the rebuilding process absolutely does not have to be a nightmare. By shifting your perspective and prioritizing a perfectly straight frame, bulletproof mechanical upgrades, and vastly improved safety features, you can turn a negative, chaotic event into a massive overall upgrade for your daily life.
The key to a highly successful, stress-free rebuild is extreme patience and a willingness to work with specialized professionals for each distinct phase of the project—from the structural pulls in the paint booth to the final adjustments on the computerized alignment rack. Do not view your insurance estimate merely as a frustrating repair bill; view it as the foundational budget for building the capable, rugged, and completely personalized vehicle you have always wanted to drive. With the right plan, your wrecked vehicle will return to the road far better than it ever was before.